How to take scalp progress photos that are actually comparable
A useful progress photo is not the sharpest or most dramatic image. It is the image you can reproduce under the same conditions next month.
Uses the best matching voice on your device. No subscription or per-listen fee.
 Open full size
 Key takeaways
- Control lighting, distance, lens, head angle, hair preparation, and part placement before comparing density.
- Use a fixed five-view set and keep original files; do not rely on one dramatic angle.
- Turn off portrait mode, beauty filters, automatic relighting, and other effects that alter edges or contrast.
- Photos document appearance under set conditions; they do not diagnose a hair-loss disorder.
Standardization matters more than camera price
Serial photography is useful only when a difference in the image is likely to reflect a difference in the scalp, rather than a different lamp, wet hair, a closer camera, or a newly placed part. Clinical literature on global photography has long emphasized a regimented, repeatable capture approach for monitoring androgenetic alopecia.1
Modern phones have enough resolution for useful whole-scalp documentation. Their automation is the harder problem: exposure, white balance, sharpening, HDR, portrait blur, and lens switching can change from frame to frame. Your protocol should make those decisions as consistent as the device allows.23
Build a capture station you can recreate
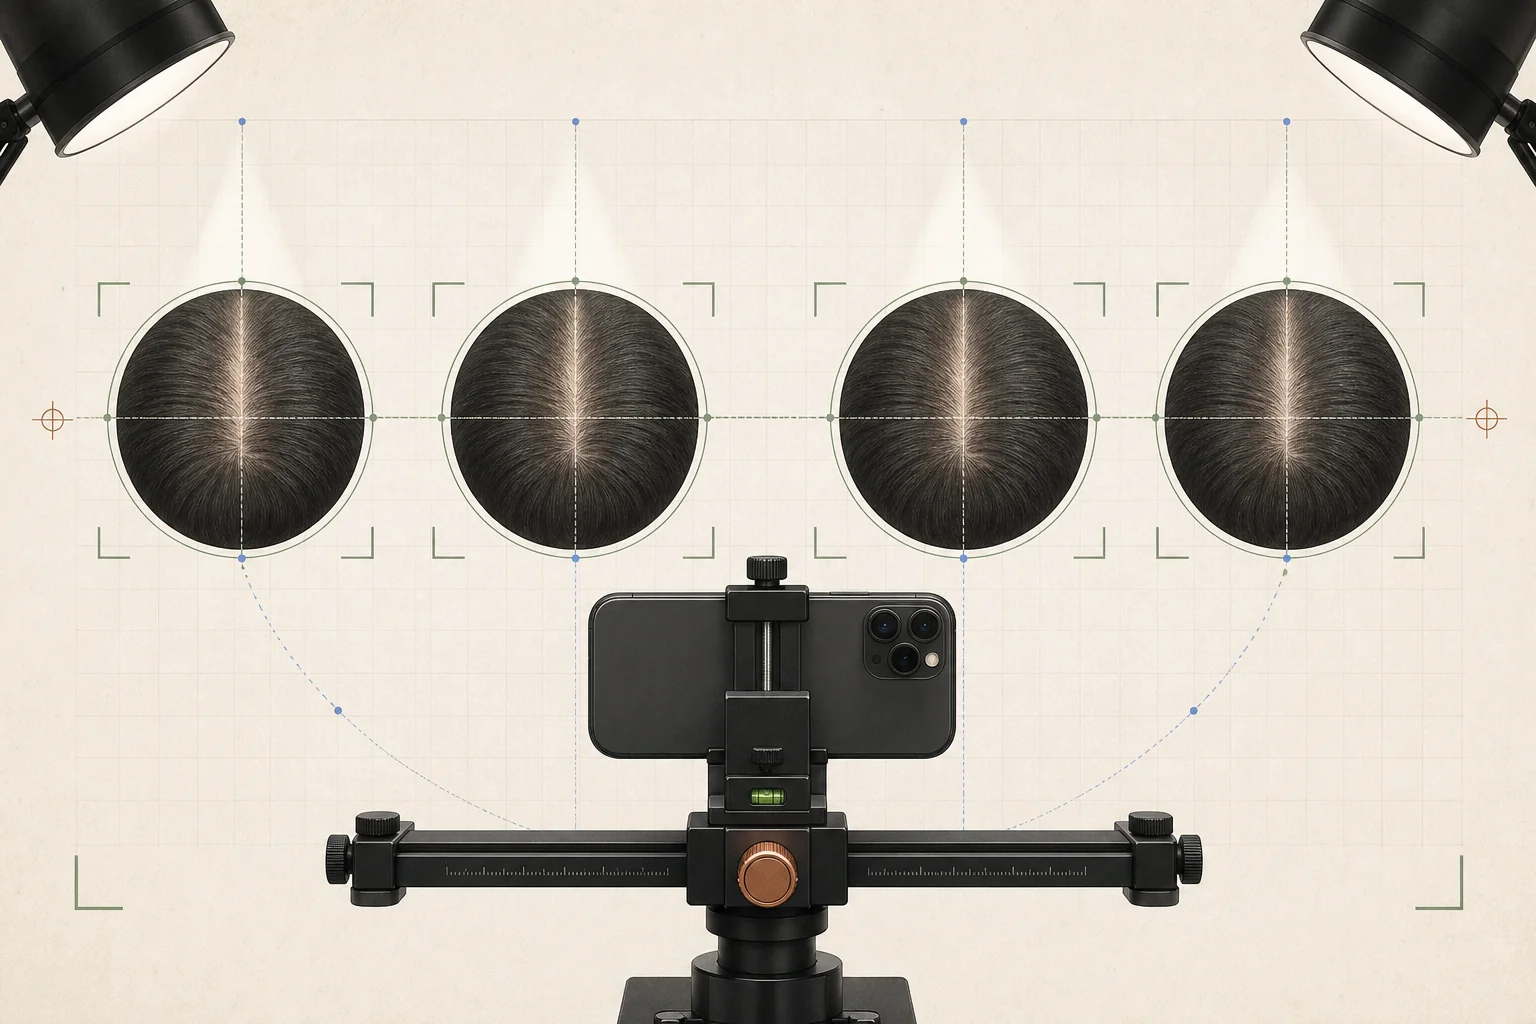
Choose one location with enough space to place the camera at a repeatable distance. A blank, mid-tone background makes the hair outline easier to read. Mark the floor position for the chair or subject and the tripod. If you use a wall-mounted phone holder, record its height.
Use diffuse, even light. A soft lamp on each side of the camera or a broad light in front is usually easier to reproduce than daylight, which changes with weather and time. Avoid a single bare overhead bulb: it can exaggerate scalp shine and create a bright crown spot that looks like density loss.
- CameraUse the same rear camera, the same native lens (usually 1×), and the same orientation.
- DistanceKeep the full head similarly sized in frame. Mark the tripod and chair positions.
- ExposureTap the same region to focus and, if the phone permits, lock focus and exposure.
- EffectsDisable portrait blur, beauty mode, filters, automatic face retouching, and artificial background replacement.
- FilesKeep originals. Messaging apps and screenshots may resize, sharpen, or recompress them.
Prepare the hair the same way every time
Hair condition can dominate the image. Wet or oily fibers clump and expose more scalp; freshly fluffed curls may cover more. Fibers, dry shampoo, gel, edge control, concealers, and root spray change contrast. Decide on a preparation state and write it down.
- 01Choose a wash interval
For example, photograph clean, fully dry hair before applying leave-in or styling products. Repeat the same interval after washing.
- 02Recreate the part
Use the same side and location. A comb tail and a small landmark photo can help.
- 03Control length changes
Note haircuts, braids, extensions, protective styles, dye, and major length changes alongside the session.
- 04Remove concealment
Unless you are specifically tracking cosmetic coverage, avoid fibers, scalp makeup, and root spray.
Use a fixed five-view protocol
One view can hide as much as it reveals. A compact set should capture the hairline, temples, part or mid-scalp, crown, and a rear reference. Keep head rotation and tilt deliberate. If another person takes the photos, give them the same reference frames each session.
| View | Position | Primary use |
|---|---|---|
| Front hairline | Camera level with the forehead; hair gently moved back without tension | Hairline contour and frontal density |
| Left temple | Head rotated about 45° right; camera height unchanged | Left temporal recession or traction |
| Right temple | Mirror the left-temple setup | Right temporal recession or traction |
| Top / part | Camera above; chin position fixed; part recreated | Central part and mid-scalp visibility |
| Crown | Camera above and slightly behind; head tilt fixed | Vertex whorl and crown coverage |
Choose a cadence before you look for change
Hair grows and cycles slowly, while lighting and styling fluctuate instantly. Daily or weekly density comparisons create many opportunities to mistake noise for change. A monthly whole-scalp set is a practical home cadence for many people; a clinician or trial protocol may use a different interval.
Schedule the next session at roughly the same time of day and repeat the preparation checklist. If an unusual event forces a different setup, keep the images but flag them as non-comparable instead of forcing them into the main sequence.
- Use calendar dates“Month 3” is less useful if the start date or missed months are unclear.
- Record interventionsLog treatment start/stop dates, dose or product changes, procedures, illness, and major shedding episodes.
- Keep a symptom trackPhotos cannot encode itch, pain, burning, scale, or tenderness.
- Avoid selective deletionKeep technically acceptable sessions even when they do not match the result you hoped to see.
Compare matched frames, not memories
Place the same view side by side at equal size. First check whether lighting, head angle, crop, focus, and hair preparation match. If they do not, downgrade confidence before interpreting any apparent density change. Then compare stable landmarks: part width, hairline contour, scalp visibility across a region, and coverage around the crown whorl.
Standardized photography can support clinical and research assessments, but subjective visual ratings and objective measurements are not identical. Treat small differences cautiously. Larger, consistent changes across multiple matched sessions are more persuasive than one pair of images.45
Sources & further reading
We prioritize official labels, professional medical organizations, and peer-reviewed literature. References last reviewed with this guide on .
- 1Photographic documentation of hair growth in androgenetic alopecia
Dermatologic Clinics via PubMed
- 2
- 3
- 4Evaluating subjective versus objective measures of changes in hair density using standardized scalp photography
Journal of the American Academy of Dermatology via PubMed
- 5


Comments and replies
The discussion about How to take scalp progress photos that are actually comparable is public. Everyone can read every thread and reply. Signed-in members can comment, reply, and mention people with their @handle.